We participated in a Lighting for Interviews masterclass conducted by our tutor Ed. In this exercise we were tasked to find three different background in the classroom and set up an interview shot there. The when everything was set up we had to light it appropriately.
In the 'before' picture below you can see the deep shadows on the subject. She melts into the background has there is no lighting to make her pop. The back of the room looks dark, dull and uninviting, and the only light on the subject is a dramatic rim light that just accentuates her right side.
We added a powerful spotlight in the back with the barn-doors opened fully. Then we put a soft box on with an addition diffuser to give her some really soft and even light. It was just 4 feet away from her too as the lighting was educed because on the soft box and diffuser in front of it. Lastly we added a reflector to bounce light onto the right side of her face and bring out her jawline.
-lighting set-up diagram-
In the picture below you can see the result of our work. We're really proud of it but next time would like to try boost the shadows on her face and torso more, thus making her stand out more.
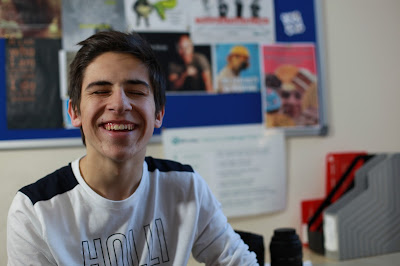
When we set up the lighting for jake we thankfully had a bit more daylight left and were thus able to use that to our advantage. We sat and positioned him near a massive window that gave him a glorious and even spread of natural light on the right side of his face. Then we just needed to add one soft box on the other side of his face and he was ready. In future I think a third light source in front of him would of worked really well, even if it was just a reflector.
Then we had to light, me! For this we used a diffused softbox about 4 feet away from me on the left side of my face and then a reflector on the opposite side bouncing the light back onto me. Though very simple, I think it worked very well. In hindsight I think it would be best if we made the softbox brighter.


No comments:
Post a Comment